
Set up your company: the first five steps
Short answer
WorkSkedge setup is dependency-ordered, not preference-ordered. Do the five Core Foundation steps first — company profile, project status mode, completion report requirements, custom fields and scheduling notifications — before adding any operational data.
On this page
Before you start
You need the Administrator role. If you are bringing customer, vendor, employee or price book data from another system, go to Settings > Data Migration first — manual entry is wasted effort if the data already exists elsewhere, and importing first avoids duplicate cleanup later.
Steps
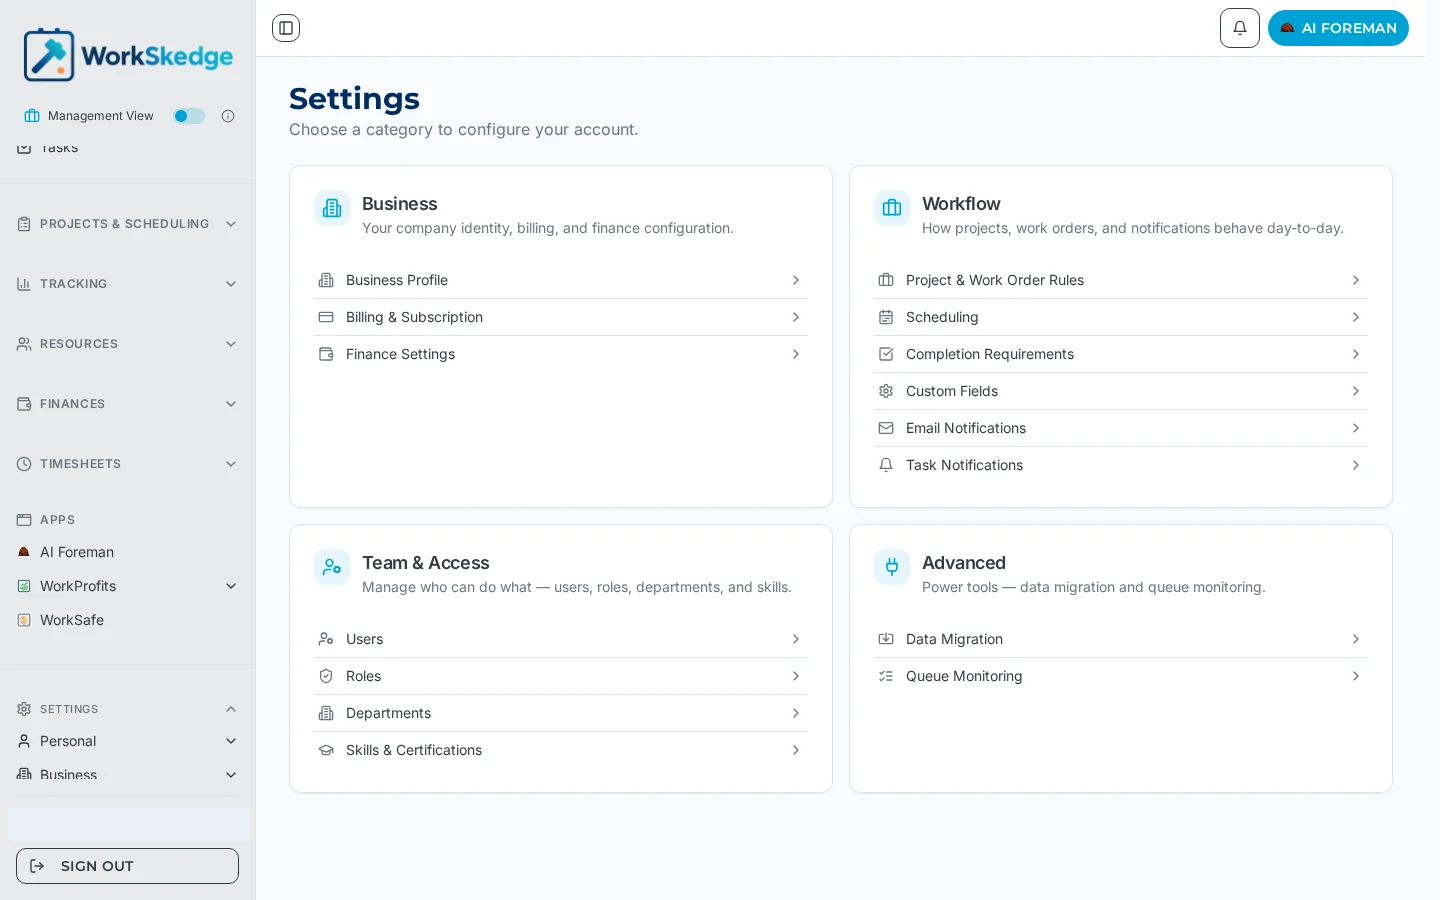
- 1Open Settings and go to Business Profile to set your legal name, phone, timezone and logo.
- 2Open Project & Work Order Rules and choose Simple or Detailed project status mode.
- 3Open Completion Requirements and build the report template that defines done.
- 4Open Custom Fields and add the data points your projects and work orders need.
- 5Open Email Notifications and set the scheduling notification timing.
The five Core Foundation steps
- Company profile — legal business name, primary phone, timezone and logo. This anchors every work order, completion report and invoice, and unlocks branded PDFs and emails.
- Project status mode — choose Simple or Detailed. Detailed mode turns WorkSkedge into a full lifecycle manager (Estimate to Active to Closed) with leads, approvals and forward-only transitions. Set this before creating projects, because it changes how transitions work.
- Completion report requirements — the checklist, photo minimums, notes requirements and approver roles that define "done". A work order cannot be marked complete until this template exists.
- Custom field templates — extra data points such as gate codes, asset IDs and site contacts on projects and work orders. Create them before the records that need them.
- Scheduling notifications — how and when workers are notified about assignment changes and calendar invites. Configure this before you schedule anything, so the first assignment does not trigger a flood of email.
Notes and limits
Setup is dependency-ordered. Each step unlocks the next, and skipping ahead breaks scheduling, invoicing and reporting downstream. If you want to do step N, confirm step N-1 is done first.
What comes next
Once the foundation is set, move to the operational engine: employees, the customer and vendor directory, the price book, and then your first project and work order. Module settings for timesheets, purchase orders and invoicing come after that, and depend on your tier.
Frequently asked questions
Can I change the project status mode later?
Set it before creating projects. It determines the lifecycle gates for every project and work order created afterwards, so switching it after you have live records changes how transitions behave.
Do I have to build a completion report template?
Yes, if you want to complete work orders. The template defines the checklist, photo minimums, notes requirements and approver roles, and a work order cannot be marked complete without it.
I am migrating from another system — where do I start?
Data Migration, before any manual entry. It imports customers, vendors, employees and price book items in dependency-correct order.
Why configure notifications before scheduling?
Assignment-change emails and calendar invites fire on every schedule change. Setting the timing first keeps the volume sane from the first assignment onward.
Can I skip custom fields?
Yes, but templates must exist before projects and work orders can store that data, so creating them up front avoids revisiting every record later.
Was this article helpful?
Still stuck?
Send us the article name and what you expected to happen.
Last verified August 31, 2026